Its been a busy one lately, with xmas, family emergency, work and regular day to day life, but I have gotten a few more things started.
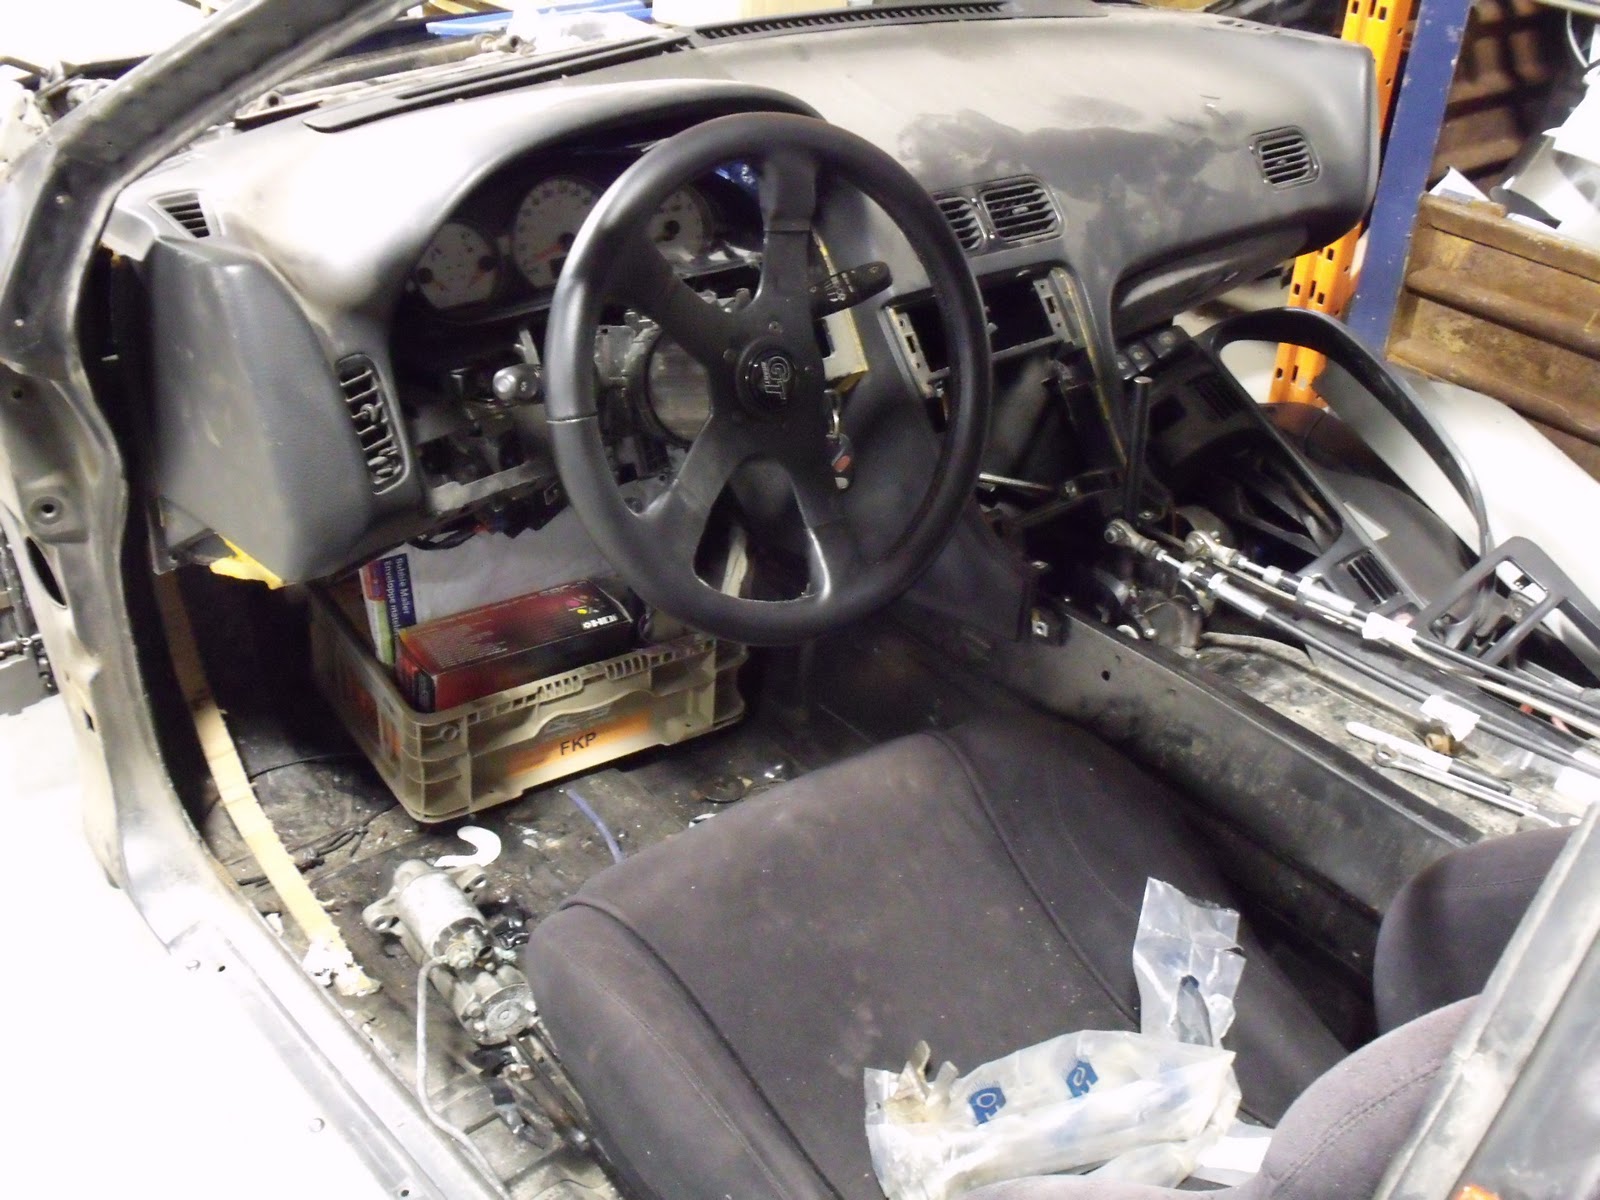
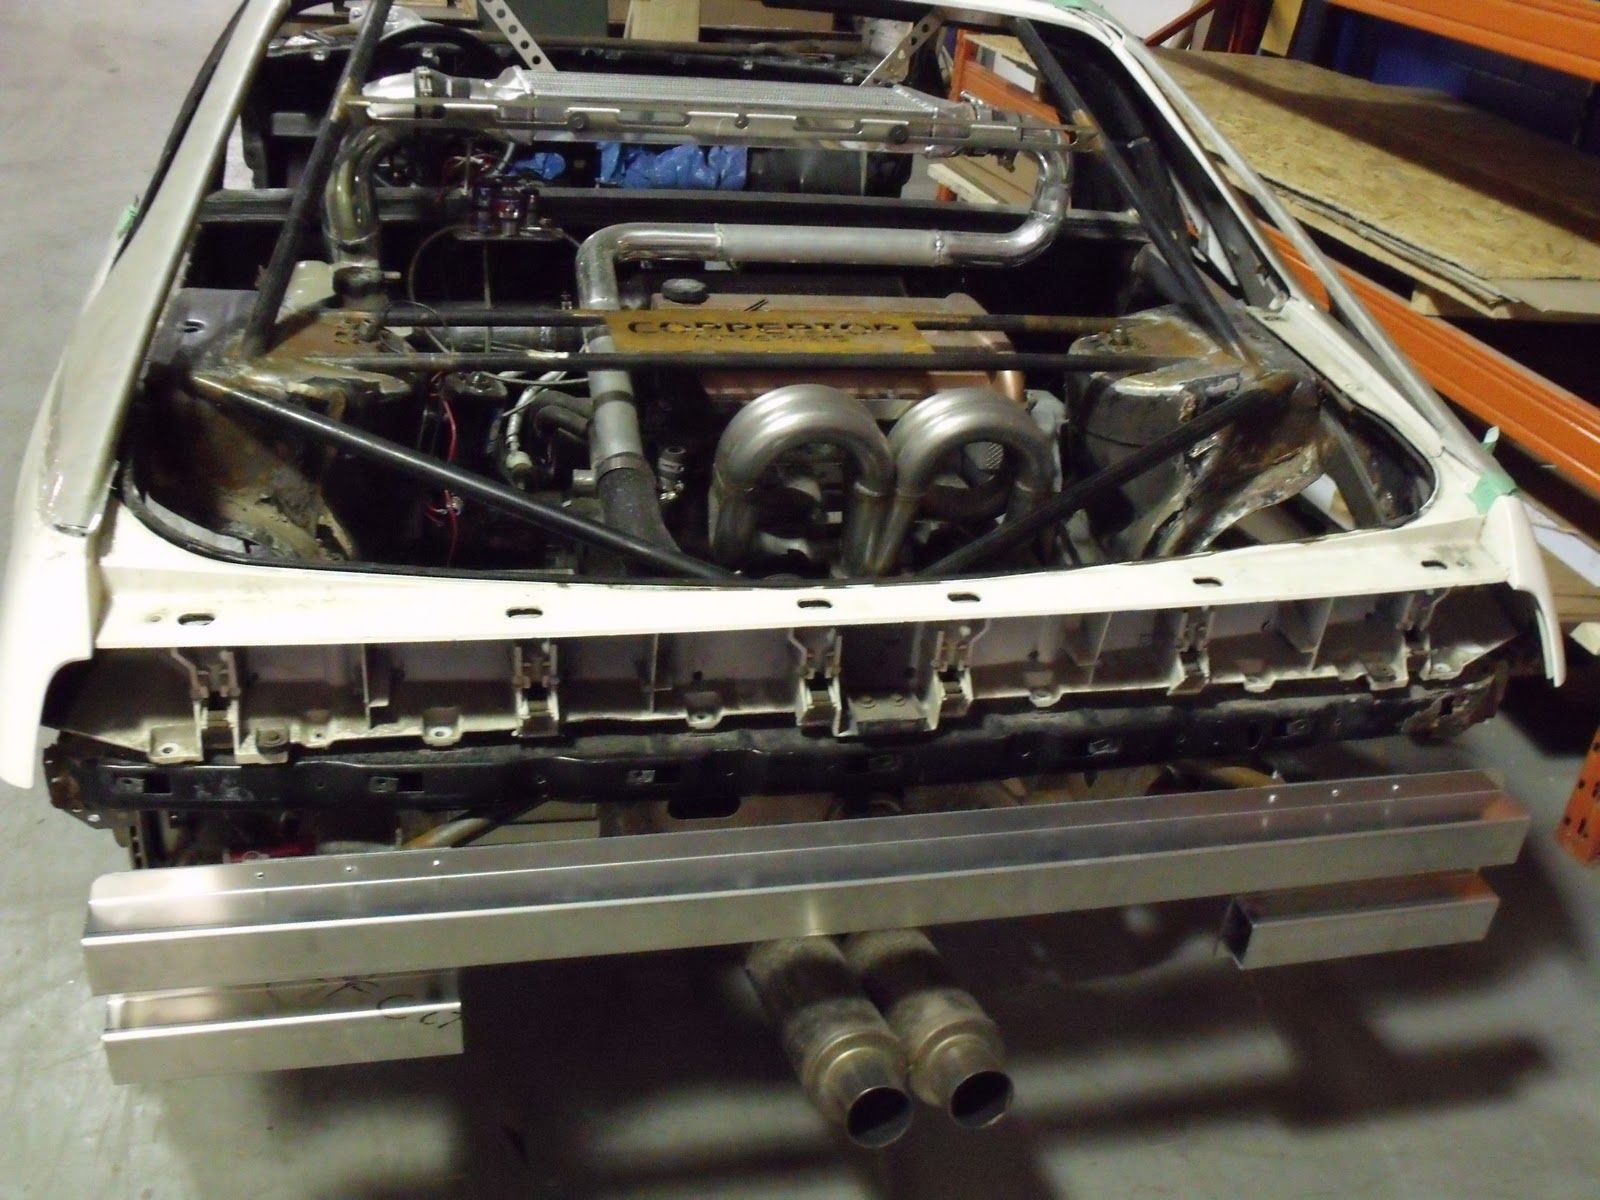
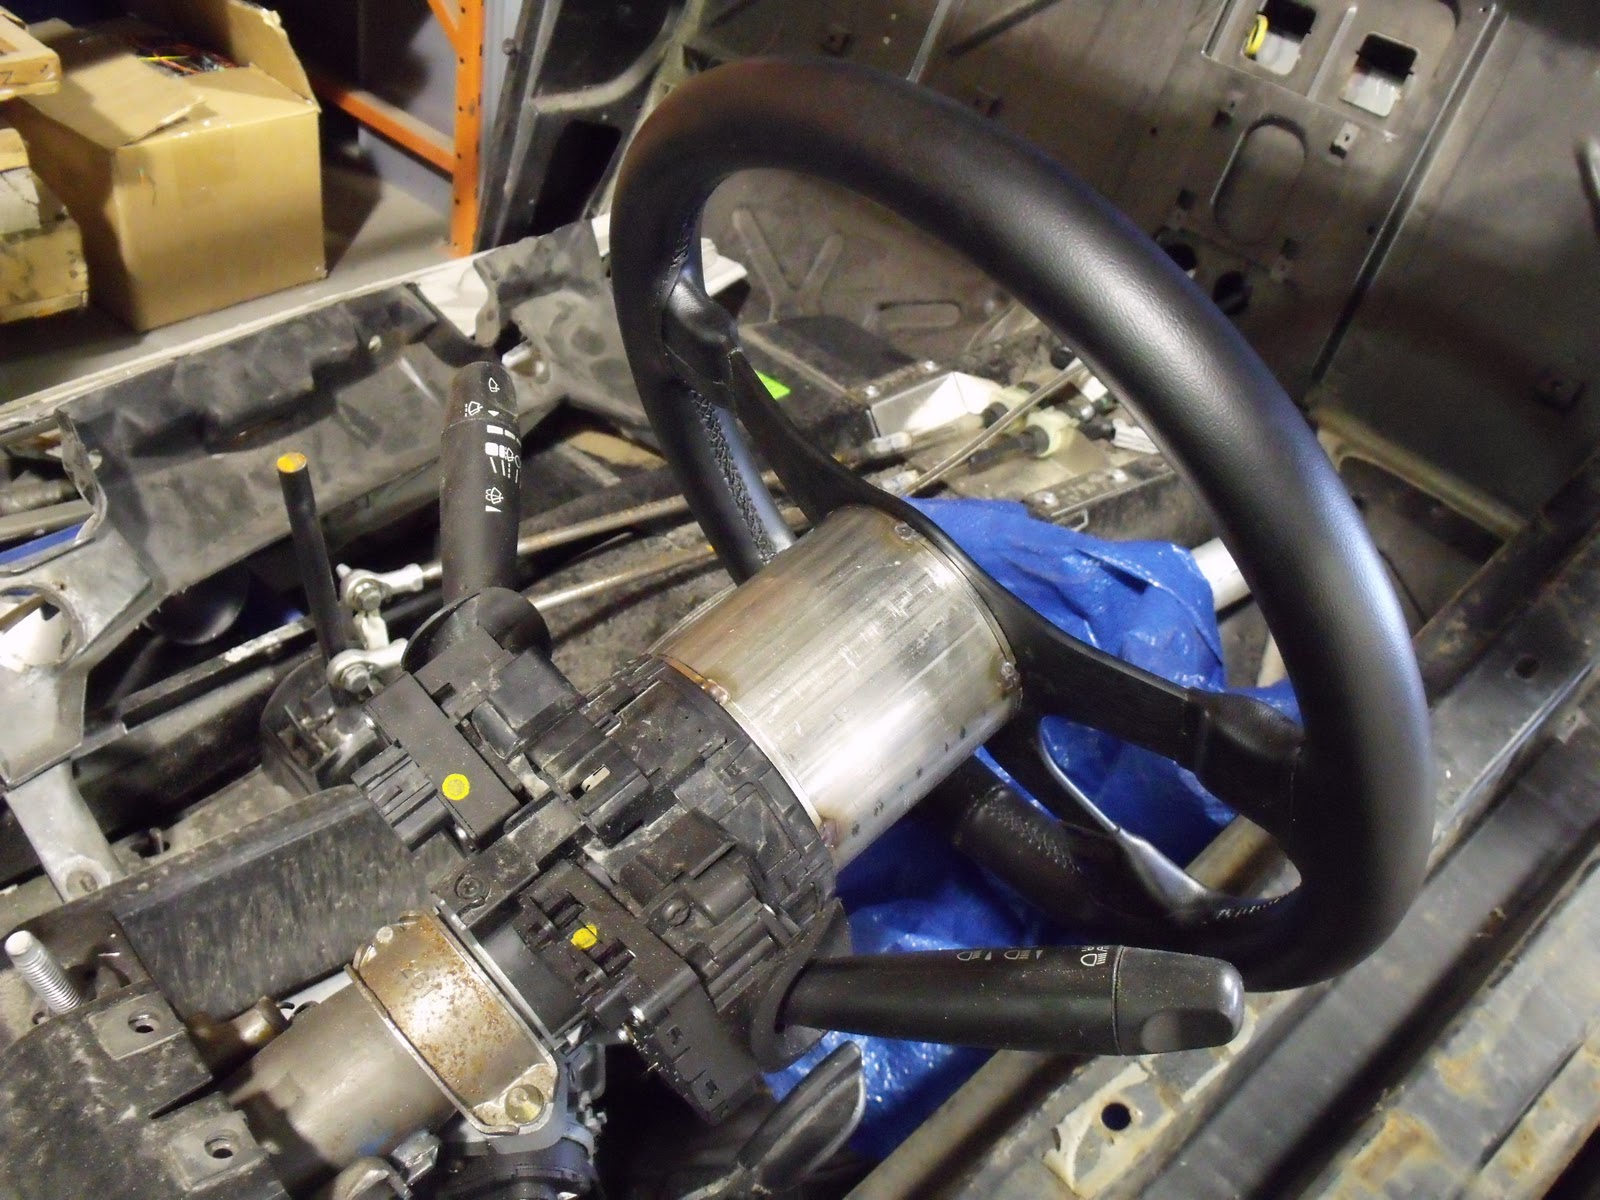
Mainly I started doing some dash work with getting the seats semi mounted (this project is on pause right now), when I got the dash mounted I realized the stock Fiero shifter location is directly in the way of the main console, so the shifter had to be moved and re-designed. When I started looking at the shifter assembly I also started looking at better cables which I am still trying to figure out so it might not look 100% correct right now.
Also, I started working on the auxiliary gauge setup in the dash........I've got 8 gauges right now, looking for a place to maybe fit one more, also I am going to have to figure out where to mount the stereo, because there is absolutely no room left in the dash, lastly I got the rims and wheels back on the car, the last month has been really bad for moving the car around the shop on the dolly, the weight of the chassis crushed the rubber wheels and split them open making it next to impossible to roll the car.
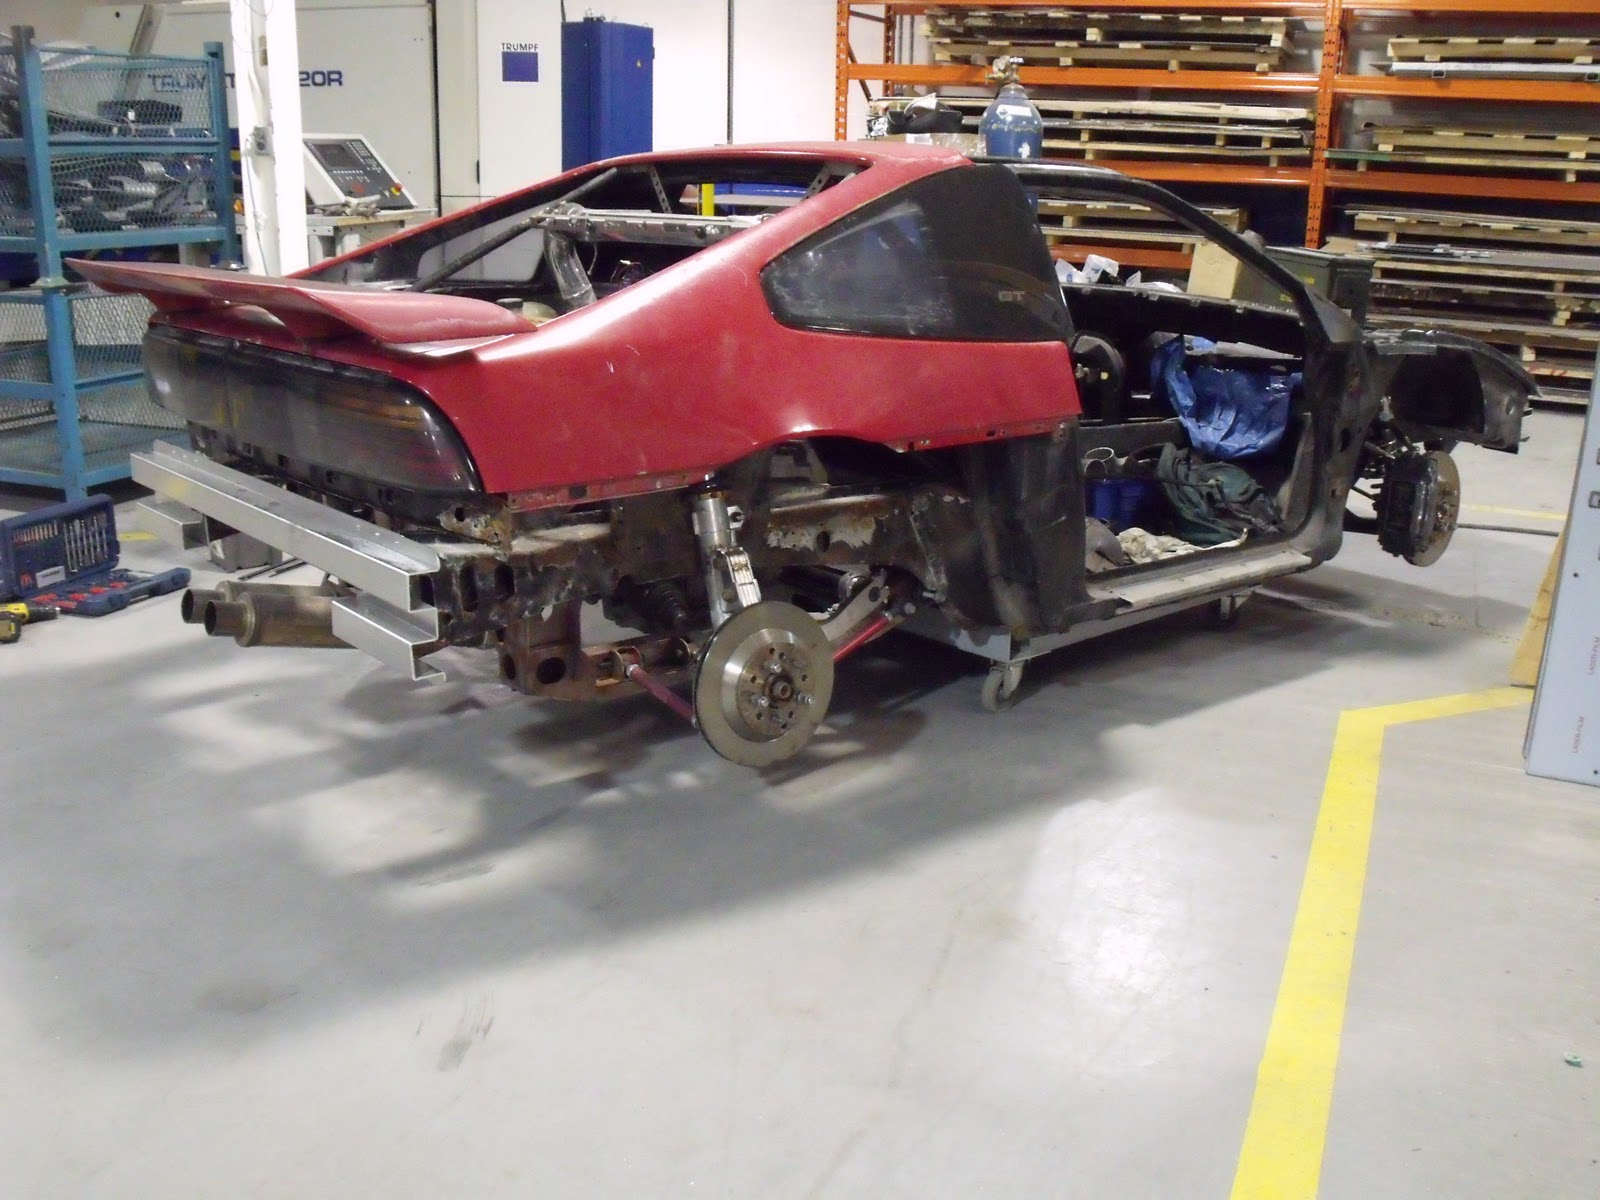
Lastly I might have run into a problem with the front steering requiring me to have to re-design the rack mounting location, I'm not getting proper angles one the wheels when turned to full lock..........more work.
Slight progress this evening
Tonight I had some progress getting the new rear trunk/hatch setup done, I started with welding the hinges to the plates that I mounted a long time ago, then with some 2x1 square aluminium tube and some brackets I built a frame that will hold the new fibreglass work and the rear window.
Also I finally got around to welding the brake calliper tabs to the rear knuckles, please keep in mind that these are mock up callipers that I have had laying around for a few years (thus all the rust), I hope to be getting some rebuilt units in the next month or so.
New plans and new problems
I had a little good luck and a small set back this week, last weekend I got a 86 GT rear clip, lights and trunk, its going to save me many hours of fiberglassing and sanding from trying to create a fastback style from a notchback design. With the trunk I cut off the section that I don't need, this week I will be looking at making a fastback hatch, I've also relocated the wing further back so that it would give proper clearance for the new design, that and I think that it looks better with this design.
Now the bad, I don't think that I had such a problem mounting the engine as I have had trying to get the darn racing seats to sit properly, I've made and welded brackets just to find out that they were causing an issue with the sliders hitting the brackets of the frame. I'm starting to loose my patience with these things.........lol
Busy couple weeks
I've been trying to keep busy, doing odds and ends try to clean up some of the little things, I got the front bumper formed, curved and installed. Also I built the fan shroud to hold two 12" slim fans, why two? because I got a deal on both of them and the stock ION harness requires two fans. Today I got to working on the seating position, steering wheel height and clutch pedal/brake pedal assembly. One thing I thought that I might have a issue with was the electric power steering motor, it turned out to be true, the stock ION/delta chassis motor sits low on the column but when it was installed on a ION/cobalt/G5 it was a non issue (although I do remember striking it with my foot a few times on that car), but since the Fiero is such a low car and there isn't much room in the drivers compartment this issue is compounded. In the photo's I took a couple shots of my feet on the pedals and how close it is, although I can still use the pedals with no issue, getting in and out will require watching your foot position and getting it under the motor while you get in. Lastly I got the rear clip cut up and mounted the fastback sails via metal brackets and tek screws.
Tomorrow I hope to weld in the brackets for the racing seats and maybe mount the tabs that will hold the rear brake calipers.
Bumper reinforcement beams
I decided after looking at the condition of my bumper beams that it was probably time to get new ones, on top of that they interfered with my exhaust system and I wanted to enlarge the radiator supply through the front bumper so that one had to change as well. Instead of using thin steel on this I figured on going with 1/8" thick alum, should be a little stronger, also it turns out that each bumper will be about 4lbs lighter over stock. The front bumper hasn't been formed yet, the setup of the bends are a little tighter than the rear bumper and due to that the bending order has to be very specific.
The project finally gets some direction
Well, directional input......ok its a bad joke.
Since I am using an ION electric assist power steering column, finding a hub can be kind of difficult and expensive, nevermind the stock wheel had airbags and cruise control inputs so I decided to make my own. Fortunately for me GM doesn't like to redesign components when they build cars (as Fiero drivers/owners know very well) so I found at the wreckers a stock Saturn S-series steering wheel minus the airbag and decided to give it a try (also because if it didn't work my daily driver is a S-series and it has a very worn wheel), low and behold it fit perfectly. After the initial test fit I trimmed off everything but the center steel splined collar, then had a couple circle pieces cut and tack welded it to a 3" long piece of 3.5" stainless pipe left over from the exhaust construction.......total cost, $69 for the steering wheel, very nice. I've made the hub 3" deep because the stock wheel for the ION is about that depth, but when I get a seat installed and do the final adjustments on the driving position I might have to adjust the length of the hub to suit. Later I will add the buttons for the cruise control and probably the nitrous as well to the steering wheel assembly.
Finally have some new things to post
Its been a very long time and I am sorry about that, this summer has been really busy and unfortunately it didn't involve being busy on the project car. I was actually hoping to have some rough forms of the body set up while the weather was warm and good for fibreglassing.
Today I got something started that I have been sitting on for a few months, the front and rear sway bars, actually I got the rear swaybar mounted and linked to the suspension already, the front bar is installed, but the removable arms haven't been set yet as I need to install the wheels again to test the full lock to lock turning of the wheel against the bar location set up.
Also I mounted my aluminium radiator, still contemplation building new rad support brackets out of alum instead of the metal ones. Lastly I brought the front and rear bumpers so I can create some new ones that will aid with the location of the exhaust and the redesign I want to do with the air feed to the radiator.
So enough of the writing onto some pictures.
Subscribe to:
Posts (Atom)